Pan Responder
Animations are really important part of modern applications. But sometimes animation is not enough. If we want to respond to screen gestures, and apply some animation as well (i.e. create drag and drop component) — then we need to use PanResponder. It is designed to work with Animated API, and you can have stunning results after combining those two.
This is last part of series. Here you can check previous ones if you missed some:
- Simple and pretty LayoutAnimation
- Amazing Animated API
- How to handle gestures with PanResponder
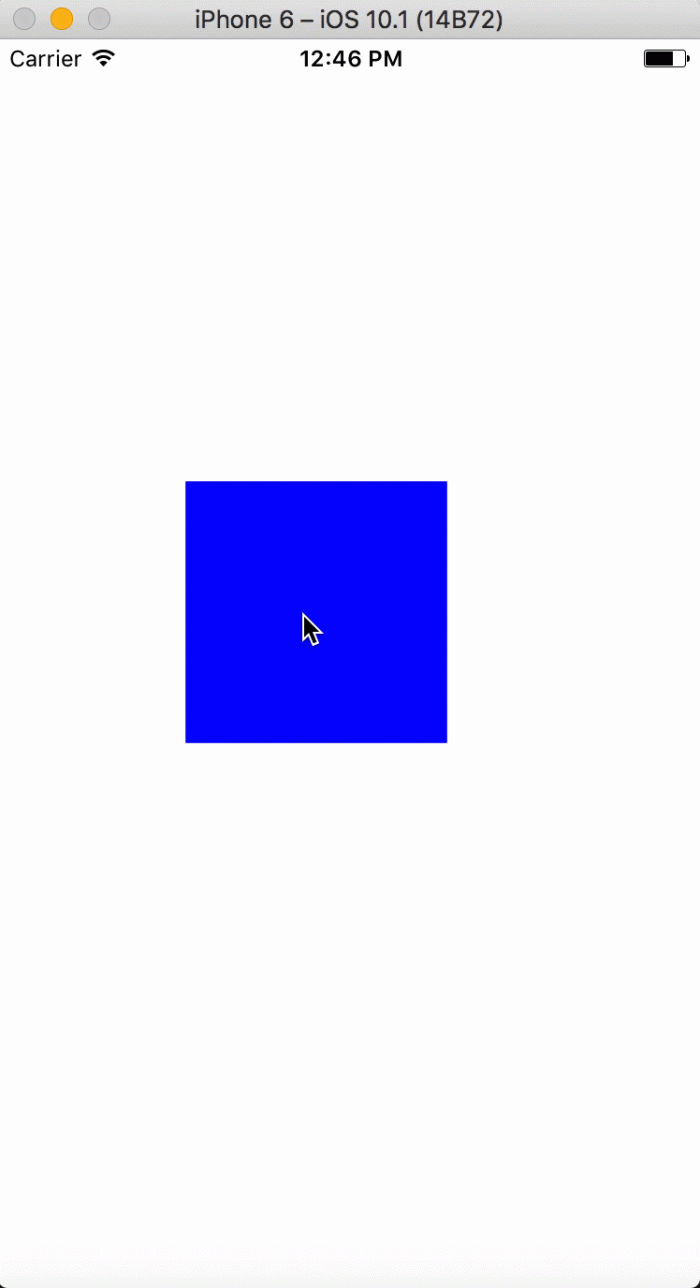
PanResponder might be quite complicated, especially if you’re on the beginning of your journey with React Native. I’ll try to show you simple usage of this API combined with Animated API. Let’s make our square from previous examples draggable. I would also like it scale to 150% of its size when it’s being dragged. Just look at the image below.
And now let’s see how to do it. :)
Code might look a bit complicated now, but i’ll try to explain it step by step. First thing to look at is constructor(). Let’s see what happened there.
We need to specify component’s initial position and width. When using PanResponder with Animations we should declare starting position in X and Y axis. We did take screen’s width and height and adjusted our square to be in the middle. Also we placed default value of scale animation. We want it to be at it’s normal size so Animated.Value() is set to 1.
Now it’s time to see what happens in componentWillMount() hook. We need to create PanResponder here. First two functions are just used to ask to be responder, onPanResponderGrant() is invoked when responder is granted to our component, onPanResponderMove() is called every time component moves, and in onPanResponderRelease() you can tell what to do after finger is released.
And i think all of the hard work is done. Now we only need to clear responder when unmounting component, and attach animation styles (which we already know!) to our component.
Summary
I hope that makes all the stuff related to animations a bit easier for you. Don’t worry if it’s not clear for you at the moment. Just try playing around with my examples and you will catch it in no time.


Learn more about Animations
Here's everything we published recently on this topic.