
Handling audio in a mobile application can seem straightforward at first glance. Platform-specific APIs, such as AVSpeechSynthesizer on iOS, provide convenient, out-of-the-box helpers that get you up and running quickly.
These tools are excellent for simple use cases; you generate speech, the OS handles the encoding, and you get a neat audio file saved to disk.
let synthesizer = AVSpeechSynthesizer()
let utterance = AVSpeechUtterance(string: "Hello, world!")

synthesizer.write(utterance) { audioFile in
  // Audio file is ready at this URL
  // Now we need to read it back for any processing...
}
But what happens when this model doesn’t scale?
Imagine building a real-time voice analysis feature, a low-latency audio messaging app, or an application that processes and visualizes audio on the fly. Suddenly, the simple act of writing to a file, then reading it back for processing, introduces significant I/O overhead.
When you need more performance, you’re on your own. The native APIs hand you a raw PCM buffer, and from there, it’s up to you to make it useful.
let synthesizer = AVSpeechSynthesizer()
let utterance = AVSpeechUtterance(string: "Hello, world!")

synthesizer.write(utterance) { buffer in
  // PCM buffer is ready
}
This article is a deep dive into working directly with in-memory audio buffers to achieve maximum performance and speed in your React Native applications.
Understanding PCM Buffers
When you tap into the lower-level audio APIs on iOS or Android, you don’t get a ready-to-play file. Instead, you get a stream of raw audio data, typically in Pulse-Code Modulation (PCM) format.
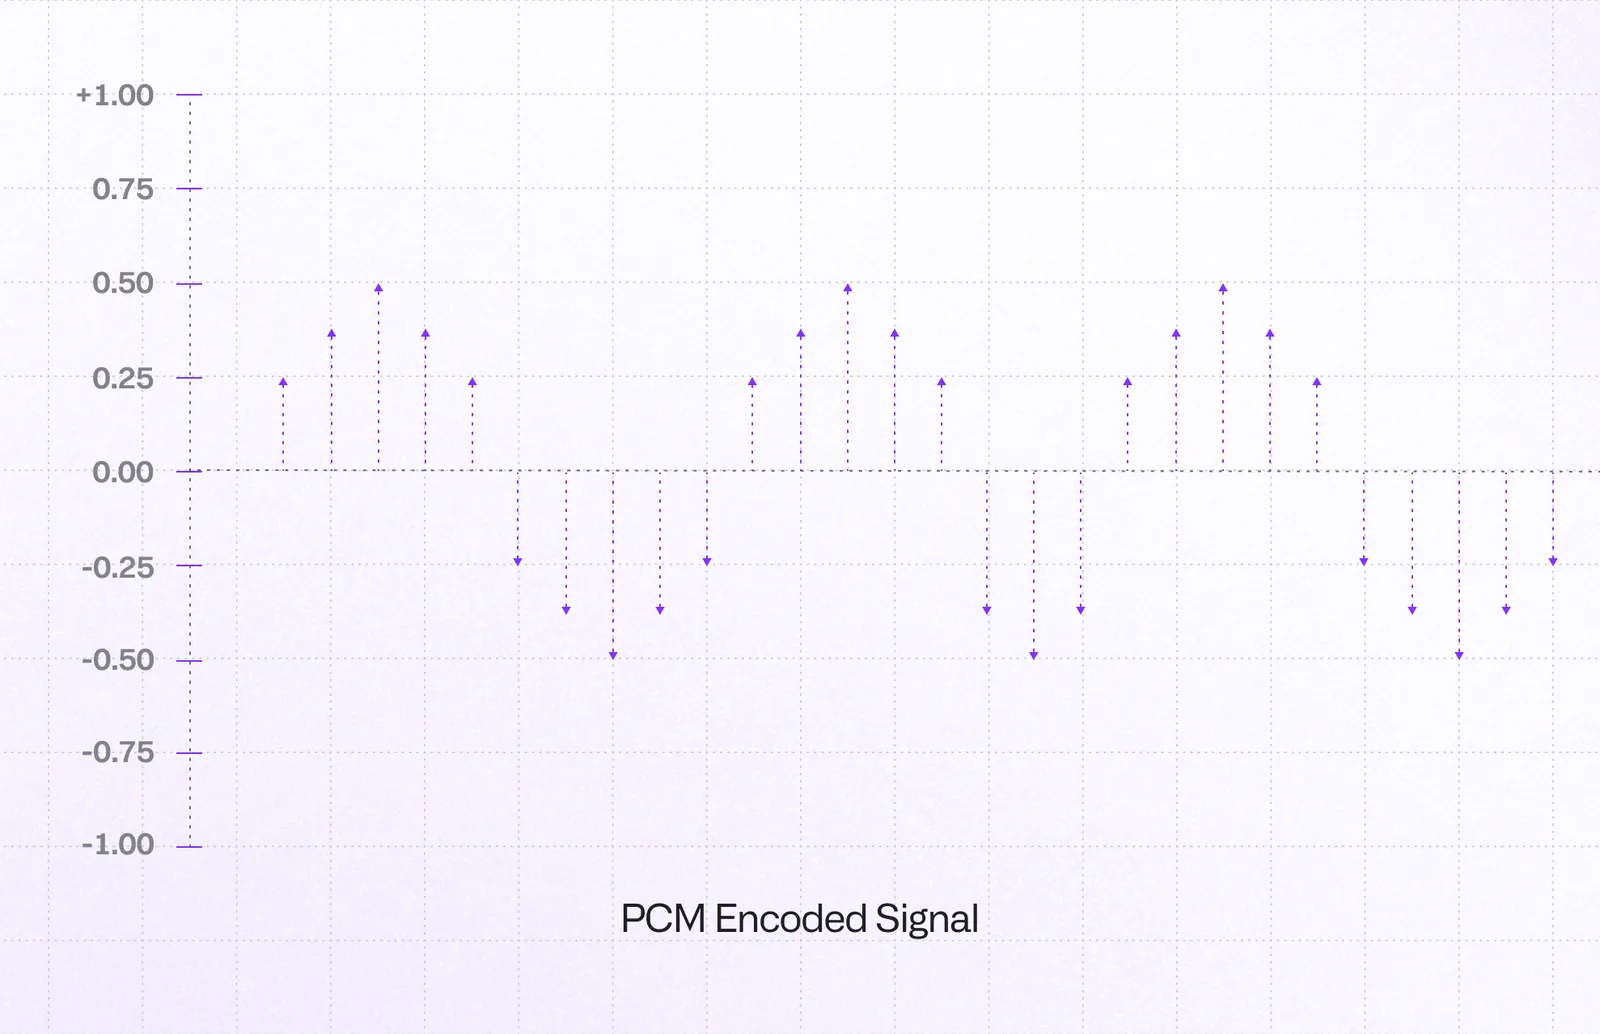
PCM is a digital representation of an analog audio signal. It’s essentially a long sequence of numbers (samples) that represents the amplitude of the audio wave at discrete time intervals. It’s pure, uncompressed audio data.
While this raw data is perfect for processing, we still need to pass metadata alongside it - information like sample rate, number of channels, and bit depth that describe how to interpret the PCM samples.
The WAV header is the easiest way to bundle this metadata with the raw audio data (though not the only one).
Building a WAV File in Memory
A WAV file is simply a wrapper around raw PCM data. It consists of two main parts: a header that describes the audio data (metadata), and the data chunk itself (our PCM buffer).

The header contains critical information that a player needs to interpret the audio correctly, such as:
- Sample Rate: How many audio samples are taken per second (e.g., 44100 Hz)
- Channels: Mono (1) or Stereo (2)
- Bit Depth: The number of bits of information in each sample (e.g., 16-bit)
Why 44.1kHz is most common sample rate?
The Nyquist-Shannon theorem states that to accurately represent a signal digitally, you must sample at least twice the frequency of the highest frequency component in that signal. This minimum rate is called the Nyquist frequency. When you sample below this rate, aliasing occurs - high frequencies get "folded back" and appear as false lower frequencies in your digital signal.
Since humans can hear up to roughly 20kHz, we need to sample at least 40kHz to capture all audible frequencies without distortion. The 44.1kHz standard provides a small safety buffer above this theoretical minimum, which is a common engineering practice.
Our task is to construct this header manually and prepend it to our raw PCM data. Here's a simplified visualization of a standard 44-byte WAV header structure:
With this map, we can write a function that generates a valid WAV header buffer based on the properties of our audio stream.
But how do we get the PCM buffer from native to JavaScript in the first place?
JSI and ArrayBuffers
JSI allows for direct, synchronous communication between JavaScript and native code, including the ability to share complex data structures. The perfect tool for our use case is an ArrayBuffer, which represents a generic, fixed-length raw binary data buffer. We can create an ArrayBuffer on the native side that points to our PCM data in memory and pass a reference to it directly to our JavaScript environment.
Here’s how we implement this zero-copy transfer in our JSI bridge:
NSData *audioData;
class NSDataMutableBuffer : public facebook::jsi::MutableBuffer {
public:
  NSDataMutableBuffer(uint8_t* data, size_t size) : _data(data), _size(size) {}
  uint8_t* data() override { return _data; }
  size_t size() const override { return _size; }
private:
  uint8_t* _data;
  size_t _size;
};

// Extract PCM data
uint8_t* data = (uint8_t*)[audioData bytes];
size_t size = [audioData length];

auto mutableBuffer = std::make_shared<NSDataMutableBuffer>(data, size);
auto arrayBuffer = jsi::ArrayBuffer(rt, mutableBuffer);
The implementation details of passing ArrayBuffers between JavaScript and native code through JSI are covered in depth in our previous JSI article. For the purpose of this article, we’ll focus on what happens once we have the data in JavaScript.
This transfer is incredibly fast because the data itself isn’t being copied or serialized. We are simply giving our JavaScript code a direct pointer to the memory location of the PCM buffer.
Merging Buffers in JavaScript with Buffer Views
Once we have the PCM ArrayBuffer in JavaScript, the final step is to combine it with our generated WAV header. The most efficient way to do this is by using “buffer views”: typed arrays like Uint8Array and DataView.
A DataView allows us to read and write data at any byte offset within an ArrayBuffer. This makes it perfect for constructing our 44-byte WAV header with precise control over each field.
The first step is creating the WAV header. Here’s our JavaScript implementation:
const AudioFormatType = {
  INTEGER: 0,
  FLOAT: 1,
} as const

type WAVOptions = {
  sampleRate: number
  channels?: number
  bitsPerSample?: number
  formatType?: number
}

const createWAVHeader = (
  pcmDataLength: number,
  options: WAVOptions
): ArrayBuffer => {
  const {
    sampleRate,
    channels = 1,
    bitsPerSample = 16,
    formatType = AudioFormatType.INTEGER,
  } = options

  const buffer = new ArrayBuffer(44)
  const view = new DataView(buffer)

  const byteRate = (sampleRate * channels * bitsPerSample) / 8
  const blockAlign = (channels * bitsPerSample) / 8

  // Helper function to write ASCII strings
  const writeString = (offset: number, str: string) => {
    for (let i = 0; i < str.length; i++) {
      view.setUint8(offset + i, str.charCodeAt(i))
    }
  }

  // WAV file header (44 bytes total)
  writeString(0, 'RIFF') // ChunkID
  view.setUint32(4, 36 + pcmDataLength, true) // ChunkSize
  writeString(8, 'WAVE') // Format
  writeString(12, 'fmt ') // Subchunk1ID
  view.setUint32(16, 16, true) // Subchunk1Size (16 for PCM)
  view.setUint16(20, formatType === AudioFormatType.FLOAT ? 3 : 1, true) // AudioFormat
  view.setUint16(22, channels, true) // NumChannels
  view.setUint32(24, sampleRate, true) // SampleRate
  view.setUint32(28, byteRate, true) // ByteRate
  view.setUint16(32, blockAlign, true) // BlockAlign
  view.setUint16(34, bitsPerSample, true) // BitsPerSample
  writeString(36, 'data') // Subchunk2ID
  view.setUint32(40, pcmDataLength, true) // Subchunk2Size

  return buffer
}
Once we have the header creation function, the second step is combining it with our PCM data.
const header = createWAVHeader(pcmData.byteLength, options)

const wavBuffer = new ArrayBuffer(header.byteLength + pcmData.byteLength)
const wavView = new Uint8Array(wavBuffer)

wavView.set(new Uint8Array(header), 0)
wavView.set(new Uint8Array(pcmData), header.byteLength)
This approach efficiently combines the header and PCM data in a single buffer, creating a complete WAV file structure that any audio API can consume directly.
In-Memory Playback
What can we do with this wavBuffer? We can now pass it directly to any compatible audio API. Here’s how it integrates with real audio processing pipelines:
import { AudioContext } from 'react-native-audio-api';

const audioContext = new AudioContext();
const decodedAudio = await audioContext.decodeAudioData(wavBuffer);

const source = audioContext.createBufferSource();
source.buffer = decodedAudio;
source.connect(audioContext.destination);
source.start();
The react-native-audio-api package provides a system for controlling audio in React Native environments compatible with the Web Audio API specification, allowing developers to generate and modify audio in the exact same way it is possible in browsers.
Bonus: Universal Compatibility
One of the biggest advantages of creating a proper WAV buffer is universal compatibility. Since we now have a complete WAV file in memory, we can easily save it to the file system to use with other libraries.
import { File, Paths } from 'expo-file-system';
import { Audio } from 'expo-audio';

// Save WAV buffer directly using Expo's File API
const file = new File(Paths.document, 'generated_audio.wav');
await file.write(new Uint8Array(wavBuffer));

// Now play with expo-audio
const player = await Audio.createPlayer(file.uri);
await player.play();
By bundling the metadata with the raw audio data, we create a self-contained audio file that can be consumed by virtually any audio library, whether it expects ArrayBuffers, base64 strings, data URIs, or file paths.
Summary
The result is a highly performant audio pipeline. By avoiding disk I/O and leveraging JSI for high-speed data transfer, we've eliminated major bottlenecks, reduced latency, and built a system that can handle demanding, real-time audio tasks with ease.
High-level native APIs work great for simple tasks, but when you need real performance in complex audio applications, you'll want to understand how to work with raw audio buffers directly.
Want to see this in action? Check out our React Native AI package on GitHub where you can explore the complete implementation and play with it in the wild.

Learn more about Performance
Here's everything we published recently on this topic.