Getting Started With Expo on Meta Quest

Do you want to get started with developing React Native apps using Expo for Meta Quest?
Good news! If you already know how to make React Native apps, you’re on the right track to build apps for Meta Horizon OS. If not, this guide will show you everything that you need.
Prerequisites
To get up to speed quickly, we’ll start with Expo Go. It’s a sandbox that allows you to create apps without configuring an entire development setup. In later sections, we will also showcase more advanced setups so you can use the full capabilities of the React Native ecosystem.
If you’ve developed React Native apps before, you can use the same development setup. If you don’t have it yet, everything you need to get started is listed below.
First, install Node on your machine.
Next, install a code editor like VSCode, Zed, or another of your choice. You can also try Expo Snack in your browser, which will allow you to skip the steps above, if you want to try it out even faster.
At the time of writing this article, you’ll need a Meta Quest device to run your apps. The good news is that Meta is working on the Meta Spatial Simulator. It will allow you to build and test 2D apps without physical hardware. Its planned release is for this year, so look out for an announcement.
The last step in basic setup is to install the Expo Go app from the Meta Horizon Store.
Now, you should be ready to create your first app.
Creating an app with Expo Go
Setting up the environment
Open your terminal and run npx create-expo-app@latest to create a new Expo app.
Follow printed instructions and run npx expo start.
Run Expo on Meta Quest
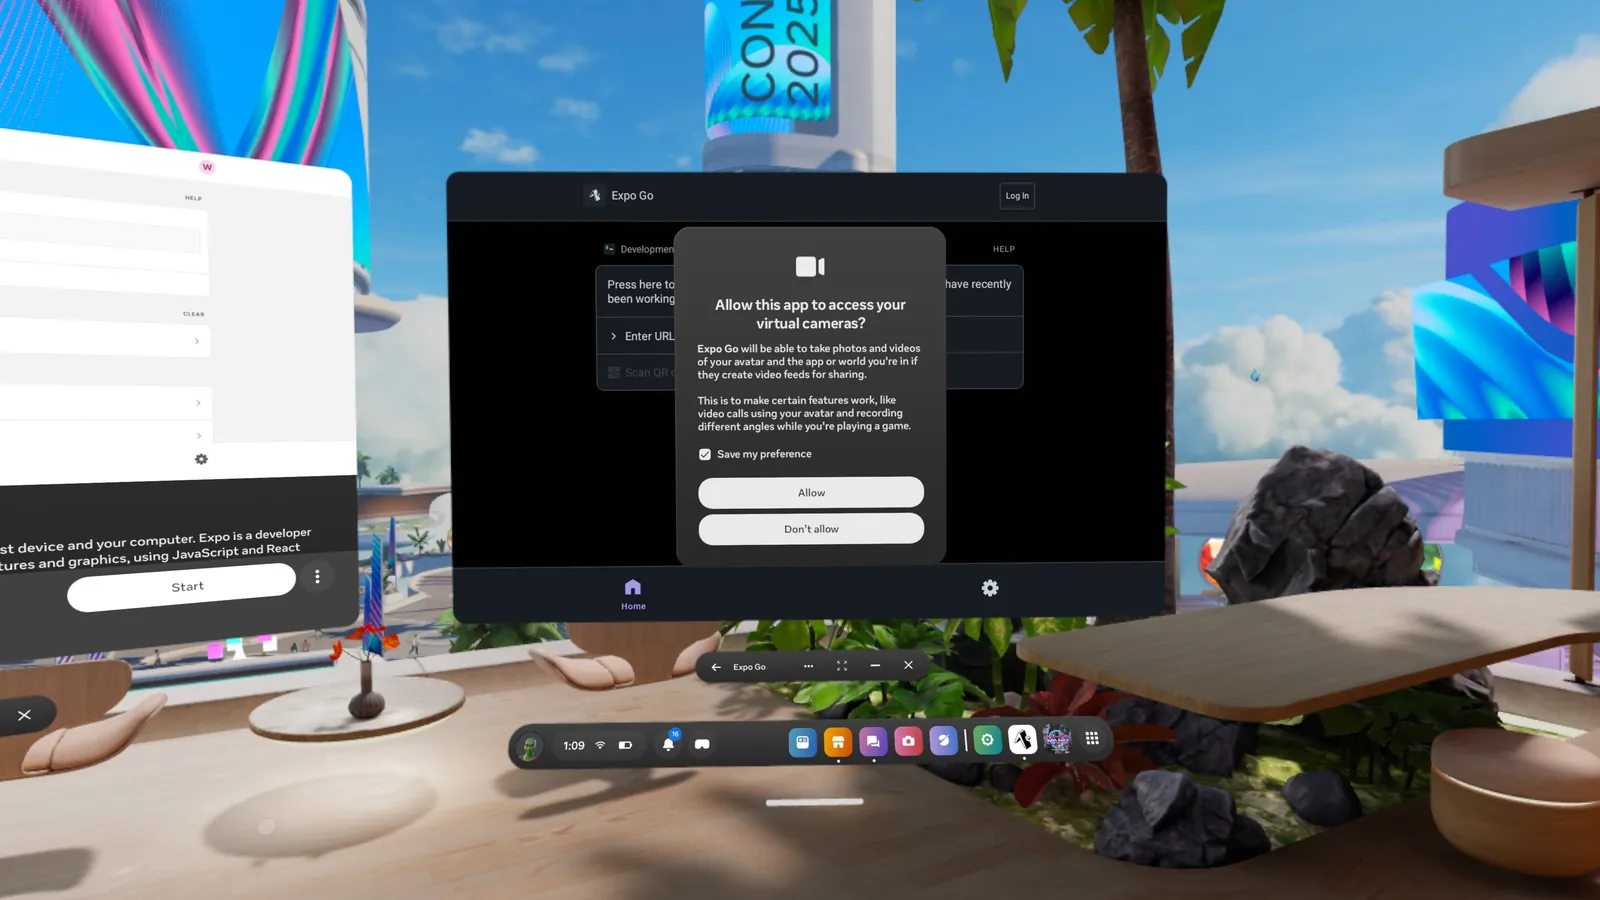
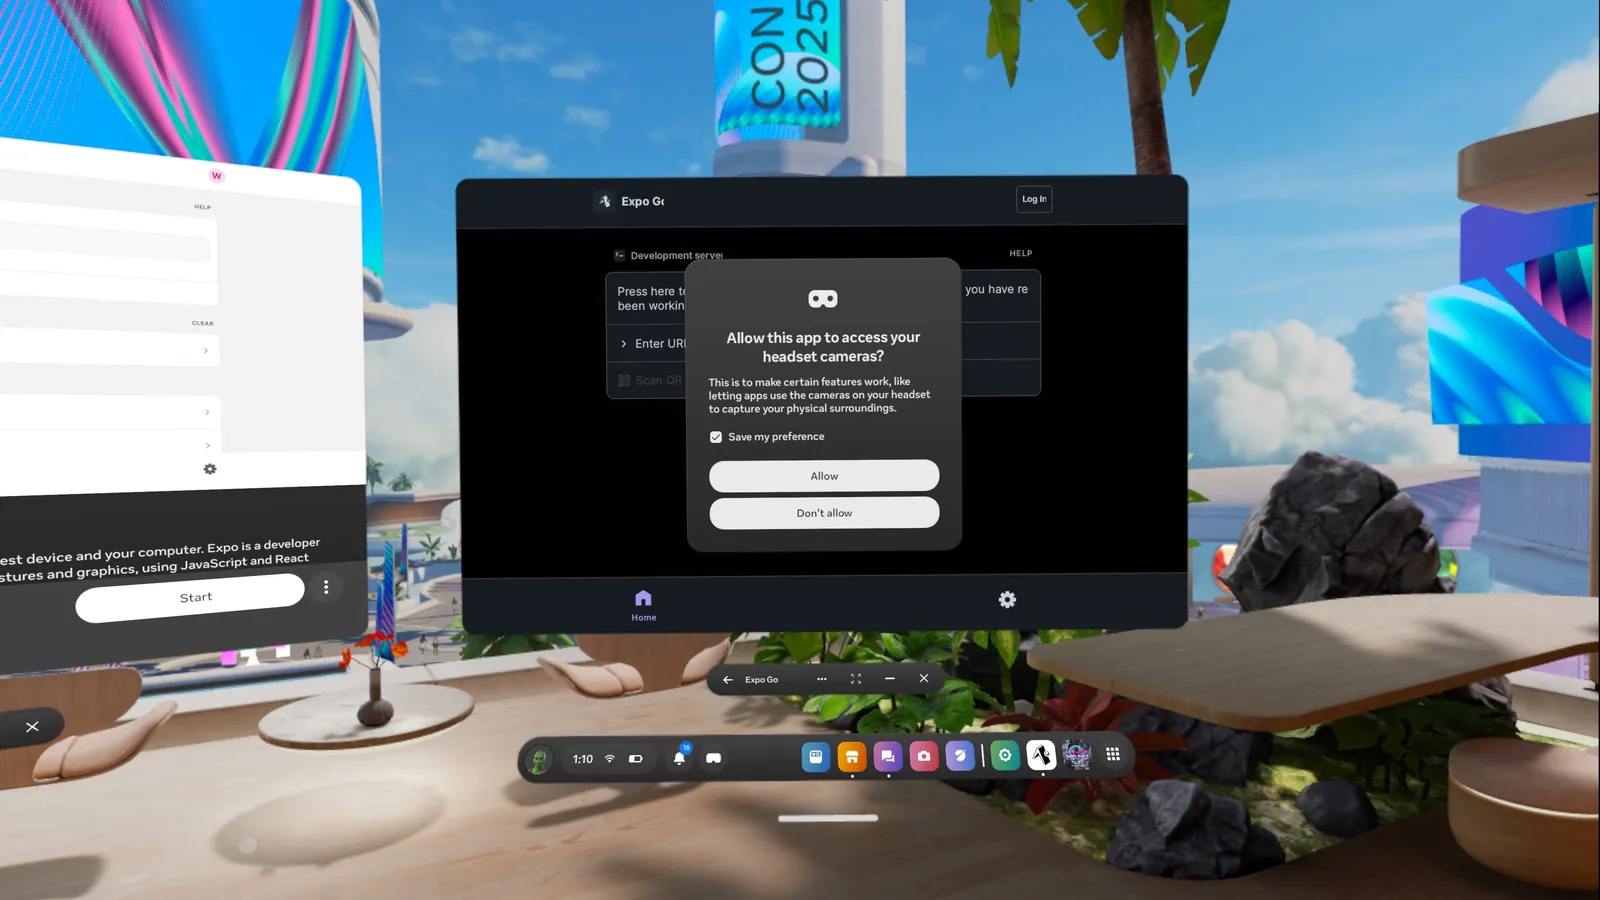
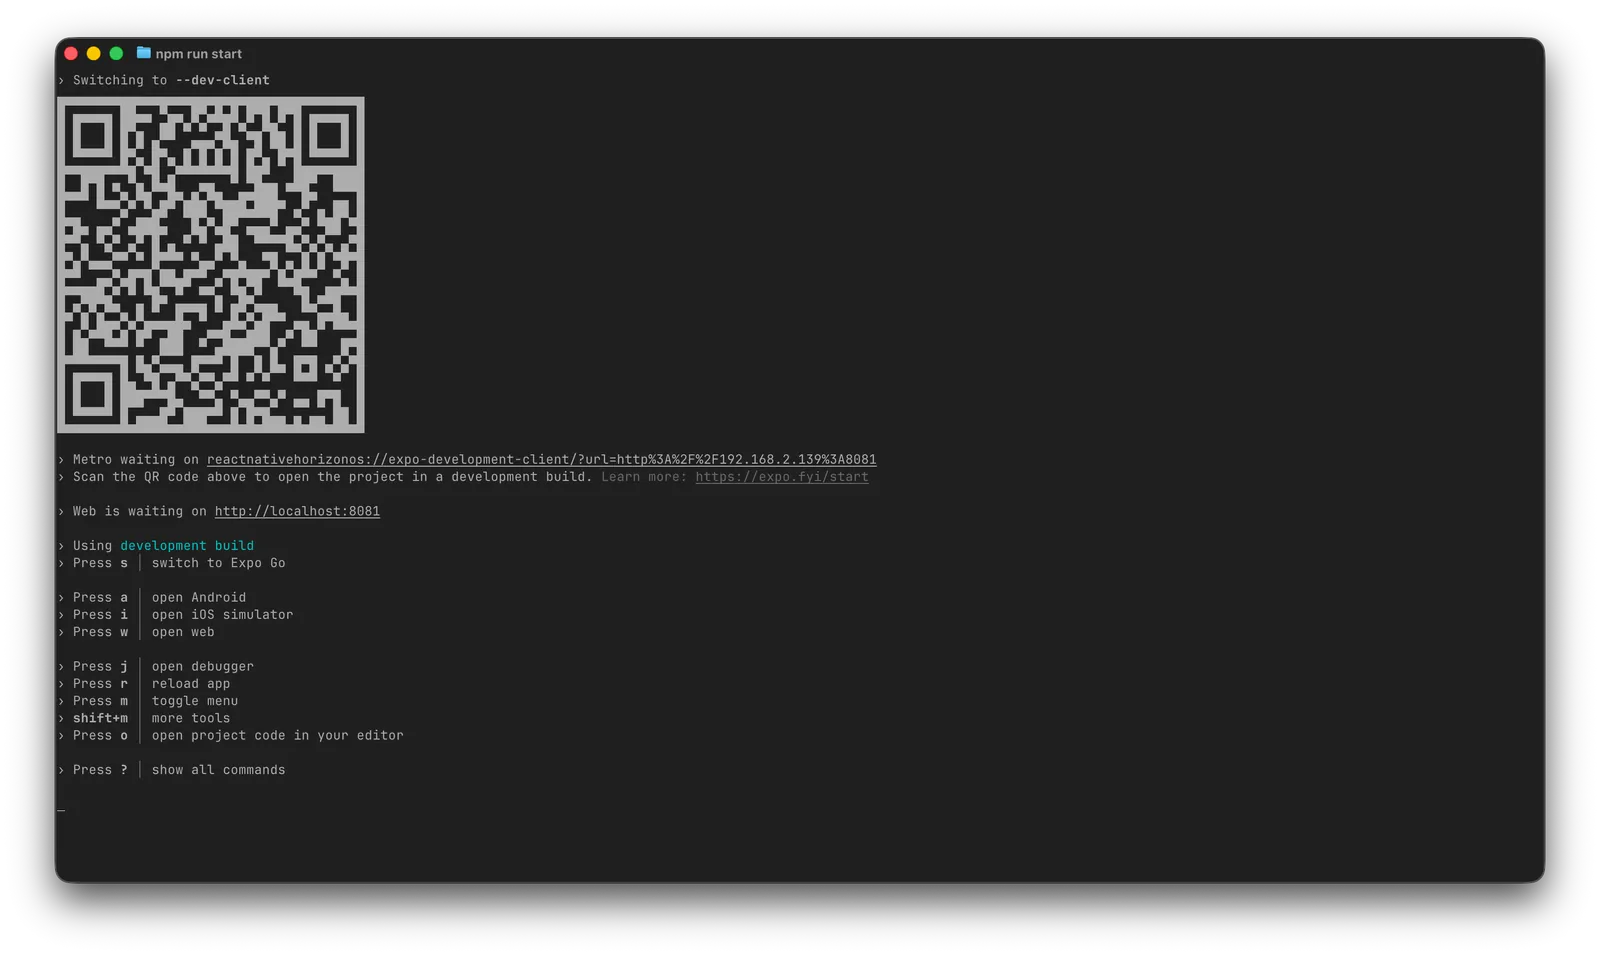
Open Expo Go on your Meta Quest. Approve all camera access permissions and scan the QR code displayed in the terminal on your laptop.
Scan the QR code displayed in your terminal to open the app.
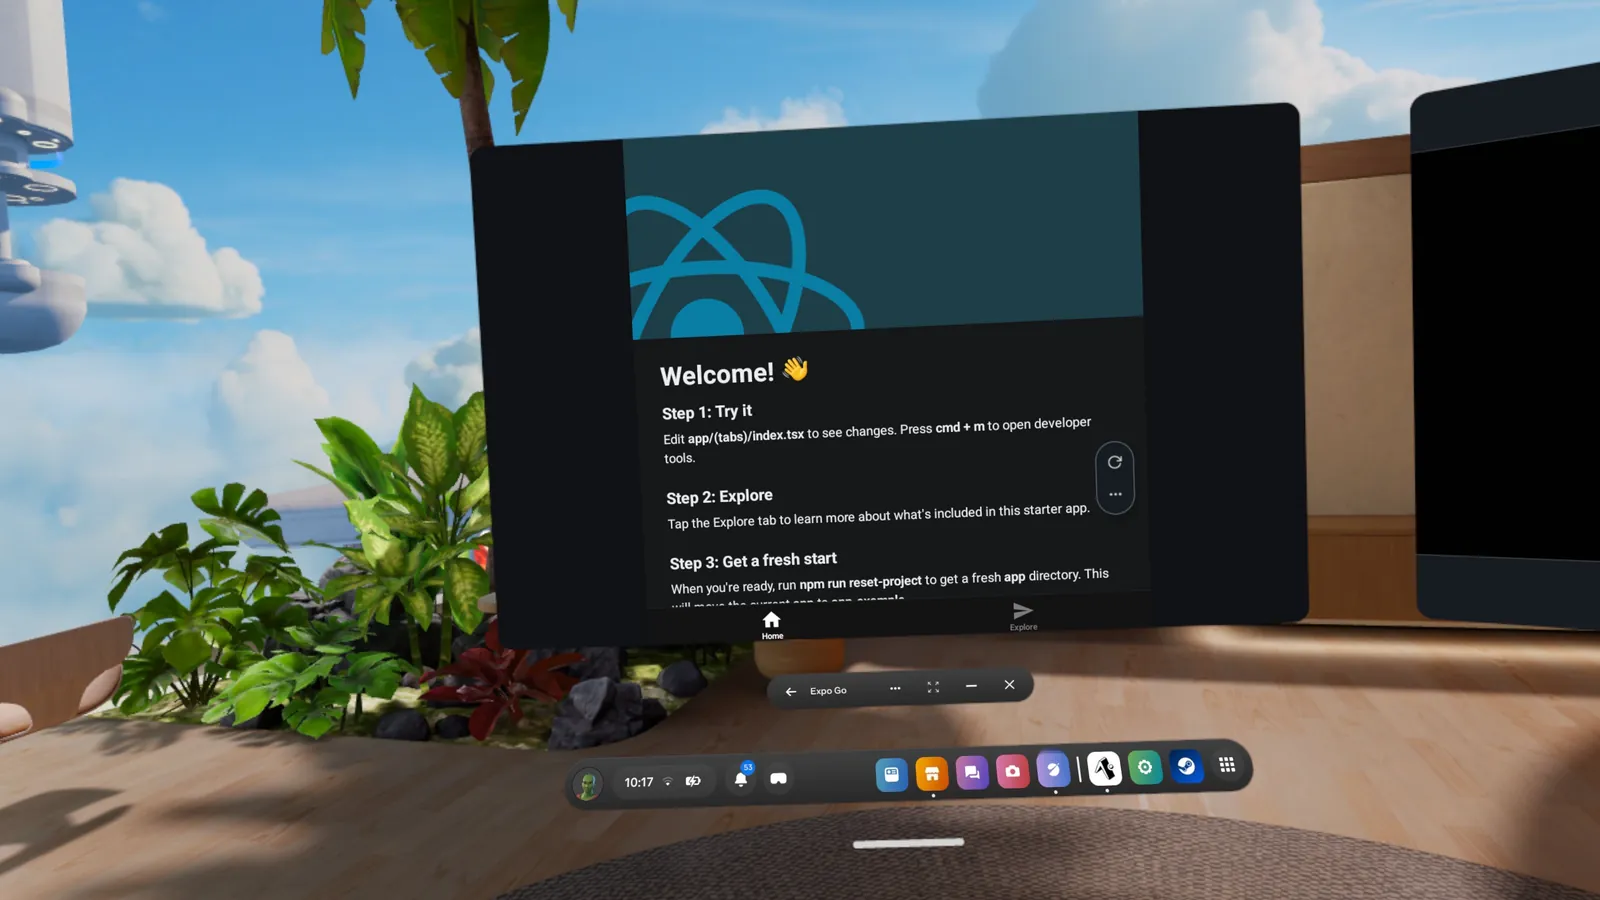
Your app should now open in a new window. You’re ready to develop it further and test changes on Meta Quest.
Congrats! Your app is now running on Meta Quest. Let’s test it by making some changes.
Make the first edit in your app
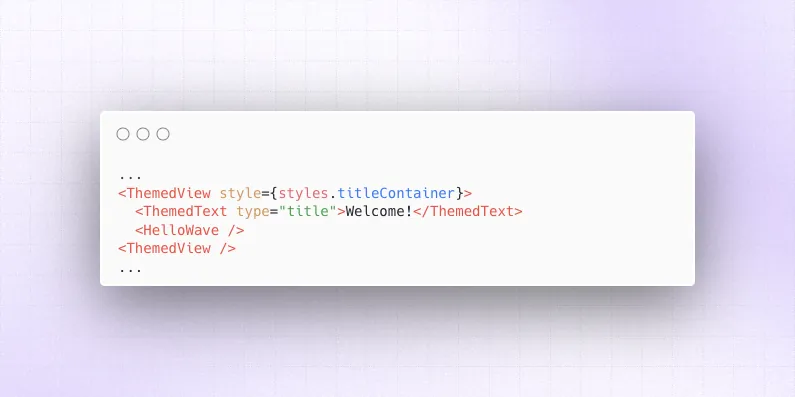
Now, let’s make some changes to the sample app you just created. Open your project in your code editor and familiarize yourself with the structure of the app.
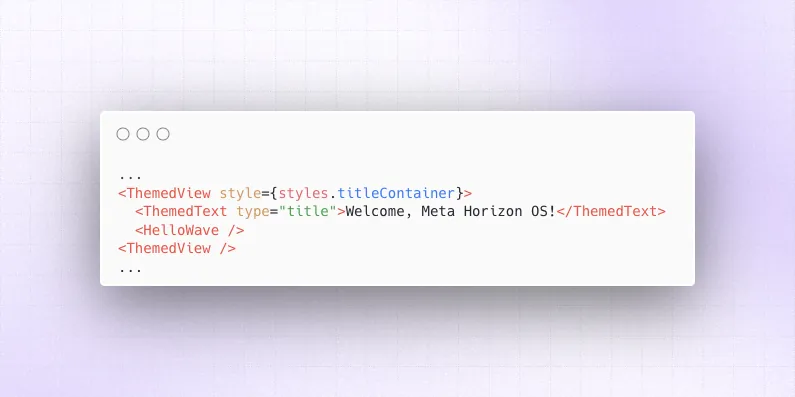
Let’s open app/(tabs)/index.tsx and change “Welcome!” to “Welcome, Meta Horizon OS!”. Save your changes and check them in your Meta Quest. You should see your change being immediately reflected in your app immediately.
You’re ready to build awesome apps for Meta Quest!

Important callouts to know about Meta Horizon OS apps
When developing apps for VR devices, you need to take into account some differences from mobile apps. Here’s a list of the most important things that you should pay attention to when developing your app:
- Permissions: On Meta Horizon OS, follow the same pattern as on Android, with few notable exceptions. Official documentation has up to date list of prohibited and extended set with XR-specific permissions. Some of them will require review and approval.
- Design: Apps on Meta Quest can be moved and resized by the user. Your app design has to take this into account and be responsive to the layout changes. Hit targets, navigation, and typography also have different requirements.
- Compatibility: Not all Android libraries are compatible with Meta Horizon OS. This includes missing support for Google Mobile Services, Firebase, and other. For the full list consult official documentation.
Going further with the development build
Expo Go is a great way to start, but if you want to dive deeper and use Expo and the React Native ecosystem's full potential, you’ll need to use a development build.
To be able to use it, you’ll have to do additional setup. Expo documentation includes step-by-step instructions on what you need to do. Follow the setup for Android devices.
After you’ve finished setting up your developer environment, you’ll also need to install the Meta Horizon app on your phone and enable developer mode. This will allow you to connect your VR Headset via ADB to enable debugging. In the future, it will also help you manage and publish your app to the Meta Horizon Store.
With everything in place, start your development server again and make sure you use “development build.” You can verify this in your terminal.
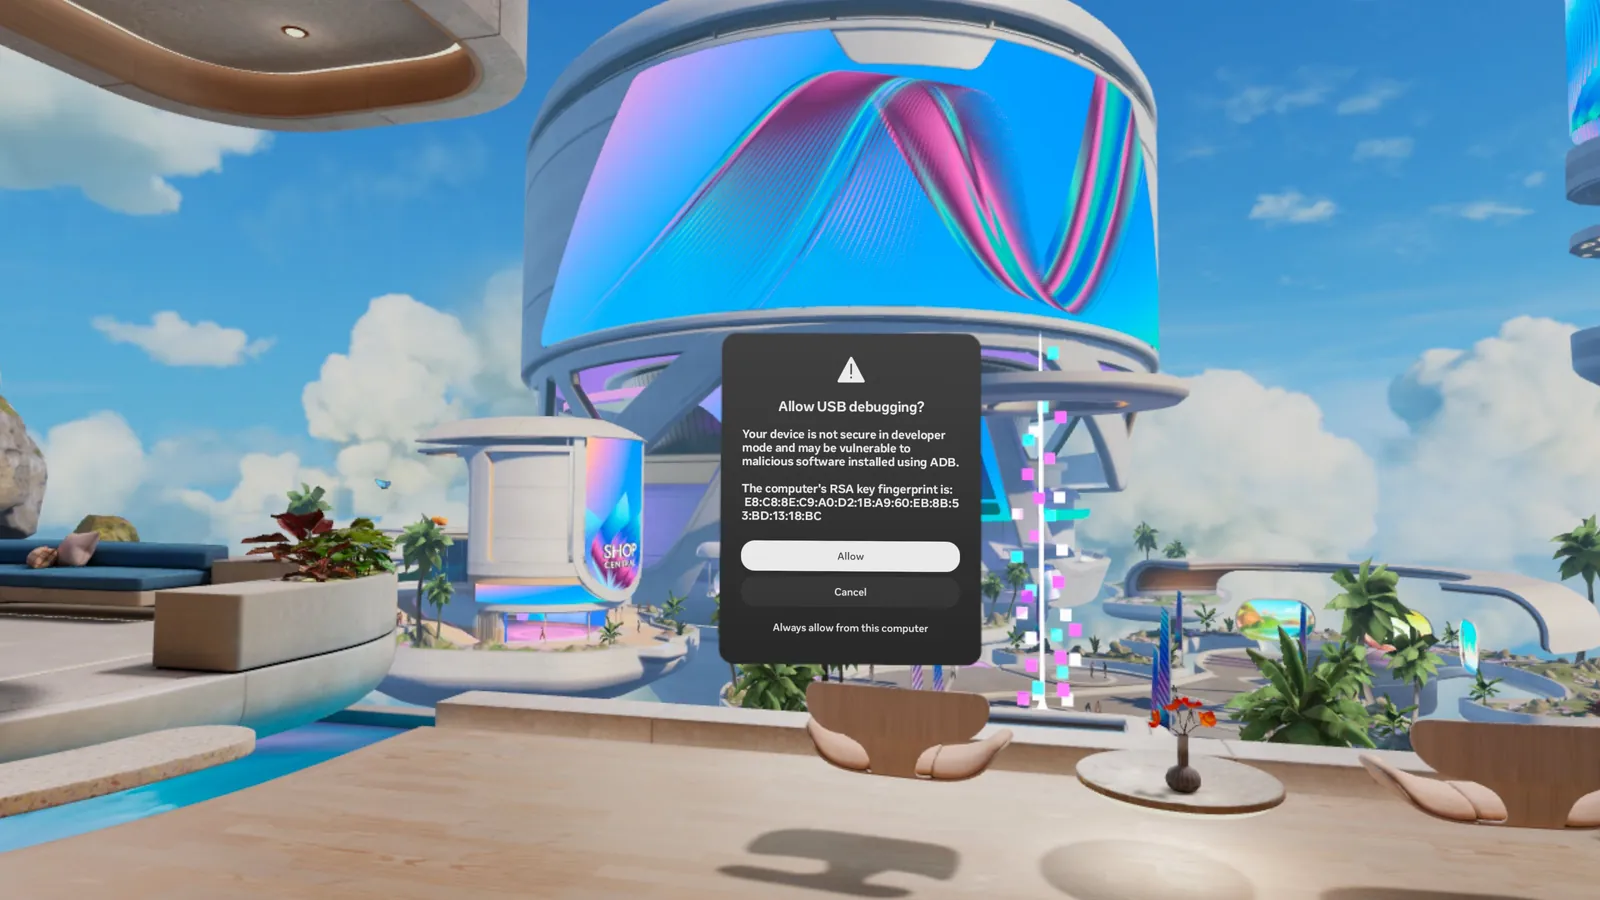
Confirm the prompt to “Allow USB debugging” on your Meta Quest.
Conclusion and next steps
That’s it! You’re now ready to create apps for Meta Quest using Expo! As you can see, there are many similarities between creating apps for Meta Horizon OS and mobile apps using Expo. You should be able to quickly get up to speed and be productive in this new environment.
In the next article, we’ll explore popular libraries, common use cases, and differences with other platforms that you might want to consider.

Learn more about Virtual Reality
Here's everything we published recently on this topic.