Mixing two technologies that allow for the same outcomes, such as React Native and Swift or Kotlin, creates a challenge: shall we allow the data to live duplicated over two realms, or create a single source of truth with automatic synchronization. Spoiler alert: whenever possible pick the latter.
When we introduced Brownie back in January, the goal was clear: make shared state in brownfield React Native apps predictable, type-safe, and practical for production teams by having a single source of truth that is always in-sync between native and JavaScript threads. We started with iOS to experiment whether the idea is sound.
Today we’re introducing Android support, making Brownie ready for cross-platform use in iOS and Android host apps.
Getting started with Brownie
Brownie enforces not only runtime synchronization, but also build-time guarantees for store shape through code generation. That’s why we start with a single source of truth: a TypeScript store schema in a *.brownie.ts file.
import type { BrownieStore } from "@callstack/brownie";

interface AppStore extends BrownieStore {
  counter: number;
}

declare module "@callstack/brownie" {
  interface BrownieStores {
    AppStore: AppStore;
  }
}
From there, brownfield codegen command, that comes with React Native Brownfield library, generates native store types, and your UI layers consume the same shared state with platform-native APIs.
React Native (TypeScript)
On the React Native side, you can use useStore with selectors to get access to that store, and get updates focused, type-safe, re-rendering React state only when necessary:
import { useStore } from "@callstack/brownie";

const [counter, setState] = useStore(
  "AppStore",
  (s) => s.counter,
);

function handlePress() {
  setState((prev) => ({
    counter: prev.counter + 1,
  }));
}
iOS (SwiftUI/UIKit)
On the native iOS side, all you need to do is to register the store once with the initial state, and then read and update using SwiftUI's @UseStore or UIKit subscriptions:
import Brownie
import ReactBrownfield

// register the store
AppStore.register(AppStore(counter: 0))
Then update the store as needed using SwiftUI’s @UseStore directive:
import Brownie
import ReactBrownfield

struct CounterView: View {
  @UseStore(\AppStore.counter) var counter

  var body: some View {
    VStack {
      Text("Count: \(Int(counter))")
      Button("Increment") {
        $counter.set { $0 + 1 }
      }
    }
  }
}
The @UseStore and AppStore are included with the artifacts packaged by the Brownfield CLI.
Android (Kotlin)
On the native Android side, we need to register the store during startup like this:
import com.callstack.brownie.registerStoreIfNeeded

registerStoreIfNeeded(storeName = AppStore.STORE_NAME) {
  AppStore(counter = 0.0)
}
Then update the store as required using subscribe and store.set:
import com.brownfield.example.AppStore
import com.callstack.brownie.Store
import com.callstack.brownie.StoreManager
import com.callstack.brownie.store
import com.callstack.brownie.subscribe

private fun appStore(): Store<BrownfieldStore>? {
    return StoreManager.shared.store(AppStore.STORE_NAME)
}

@Composable
fun GreetingCard() {
    var counter by remember { mutableIntStateOf(0) }

    DisposableEffect(Unit) {
        val store = appStore()
        val unsubscribe = store?.subscribe(
            selector = { state -> state.counter.toInt() },
            onChange = { updatedCounter -> counter = updatedCounter }
        ) ?: {}

        onDispose {
            unsubscribe()
        }
    }

    Column {
        Text( text = "Count $counter")
        Button(onClick = {
            brownieStore()?.set { state ->
                state.copy(counter = state.counter + 1)
            }
        }) {
            Text("Increment counter")
        }
    }
}
The APIs in import statements are packaged together with the artifacts generated by the brownfield CLI.
Android usage supports:
- Easy Path (recommended): generated types with Gson-based serialization
- Advanced Path: custom serializers for compatibility rules, custom formats, or encrypted payloads
How it all works End-to-End
You’ve seen that Brownie relies on code generation, and (not surprisingly) requires you to write some code in TypeScript, Kotlin, and Swift. Let us quickly show you how this all fits together in a full pipeline:
- Define store schema in
*.brownie.tsfile - Run Brownfield packaging and codegen for your target platform artifacts
- Register store in native app startup (Swift/Kotlin)
- Read and mutate state from React Native and native UI layers
- Subscribe to selected state slices for reactive updates
This keeps state updates consistent across the embedded React Native surface and native host UI on both platforms.
Migration from alpha versions
What's new since Alpha
The main update is a more mature, end-to-end workflow that offers:
- Stable APIs ready for production Brownfield apps
- Android support alongside iOS, including generated Kotlin types
- A clearer setup path from schema definition to native registration
- Kotlin integration with both an Easy Path and an Advanced Path
Brownie has moved past an iOS-first phase and now provides one state bridge across React Native, Swift, and Kotlin.
Migrating from Alpha
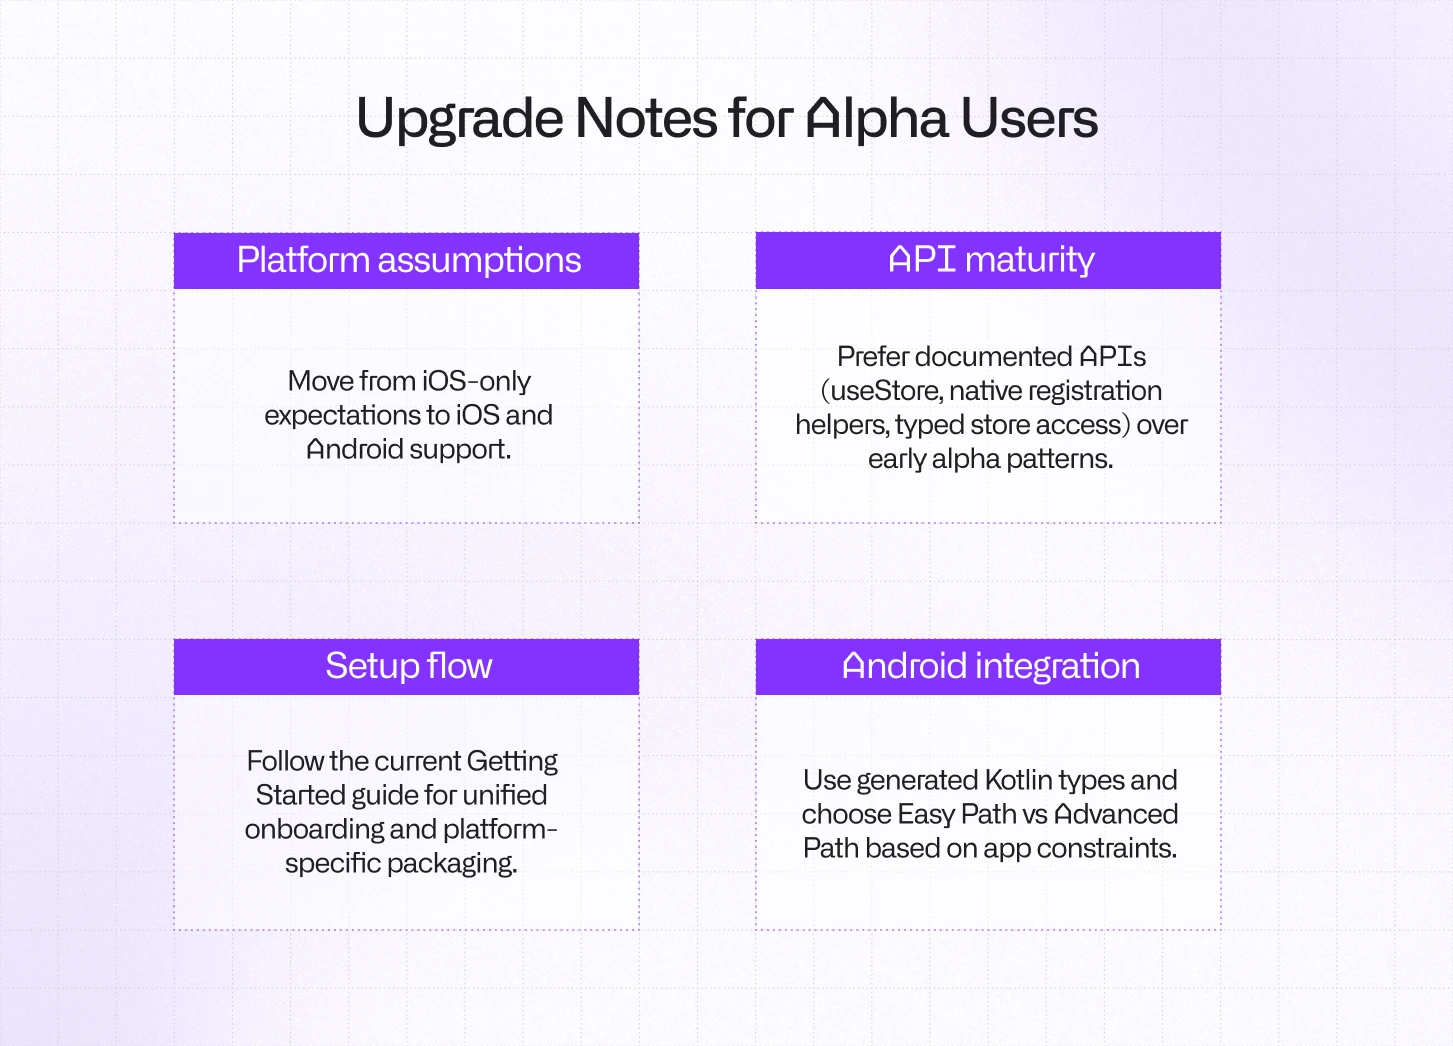
If you evaluated Brownie during the alpha phase, the main shift is moving from an experimental, iOS-first setup to a stable, cross-platform approach.
As an alpha user you should already have Brownie configured for iOS.
The setup flow is more cohesive now. Rather than stitching together early examples, it’s best to follow the current Getting Started guide, which reflects the unified onboarding and packaging process. The API surface has matured as well. Instead of relying on early patterns, use the documented APIs, useStore, native registration helpers, and typed store access, which are stable and consistent across platforms.
With that in mind, enabling Android support is straightforward:
- Update package.json
In the below code snippet, replace rnapp with your react-native app identifier and brownfieldlib with your Brownfield Android module name:
"brownie": {
  "kotlin": "./android/BrownfieldLib/src/main/java/com/rnapp/brownfieldlib/Generated/",
  "kotlinPackageName": "com.rnapp.brownfieldlib"
},- Add Gson dependency
In your Brownfield Android module, add the Gson dependency:
api("com.google.code.gson:gson:2.13.1")That is all you need to do. Your already existing Brownie store, which you previously could only use for iOS is now ready to be used in Android.
// package AAR

npx brownfield package:android --module-name :YourModuleName --variant release

// Publish AAR

npx brownfield publish:android --module-name :YourModuleName
For further documentation, head over to getting started with Brownie.
If your existing store schema already lives in *.brownie.ts, migration is mostly about updating platform integration steps and rebuilding artifacts with the current CLI flow.
How this impacts Brownfield integrations
The success of migrating from one technology stack to another depends on reducing accidental complexity at integration boundaries. Brownie helps with that by providing a single schema contract across React Native and native code, generating type-safe models in Swift and Kotlin, and maintaining a consistent state synchronization model regardless of platform.
That means less glue code, fewer runtime mismatches, and a smoother path for incremental migration.
If you’re integrating React Native into an existing native app today, this is a strong point to adopt Brownie: stable APIs, iOS and Android support, and a setup flow designed for production teams. Head over to the documentation to dive further.
And to make migrations and creating PoCs of React Native running side-by-side your native apps easier for you, we’ve recently released agent skills for React Native Brownfield library.
npx skills add callstackincubator/agent-skills --skill react-native-brownfield-migrationJust tell your agent to use the skill and give React Native a try in a matter of minutes.


Learn more about Brownfield
Here's everything we published recently on this topic.